Mailigen allows you to add a new subscriber in Mailigen.com account when your chat is finished. Use this opportunity to extend your Mailigen newsletter list and better target your customers!
We prepared a short tutorial on how to integrate LiveChat with Mailigen with the use of Zapier. We hope that you will enjoy it!
- Make a Zap! - learn how to create a new Zap and set up LiveChat as a Trigger App
- Configure your Zap! - learn how to configure your Zap and choose Mailigen as your Action App
- Launch your Zap! - finalize the configuration and start using your new Zap!
Make a Zap!
- To make a Zap, log into Zapier and click on Make a Zap available in the upper menu.

- You will be taken to Choose a Trigger App section. There, type LiveChat into the search field and choose our app.

- From the Select LiveChat Trigger section, choose Finished Chat.
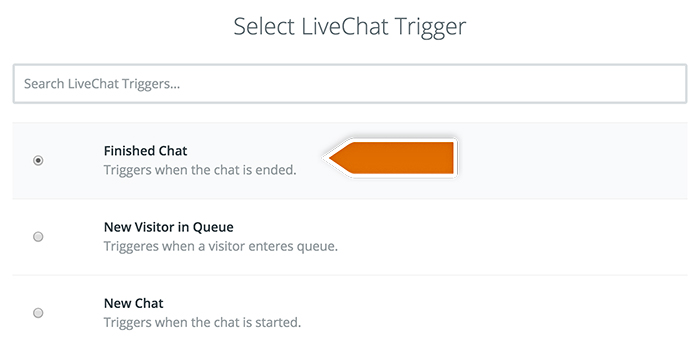
- To proceed, click on Save + Continue button available under the list of triggers.

- Now, click on Connect a New Account and provide your LiveChat Email and PAT (Personal Access Token). To proceed, click on the Yes, continue button.
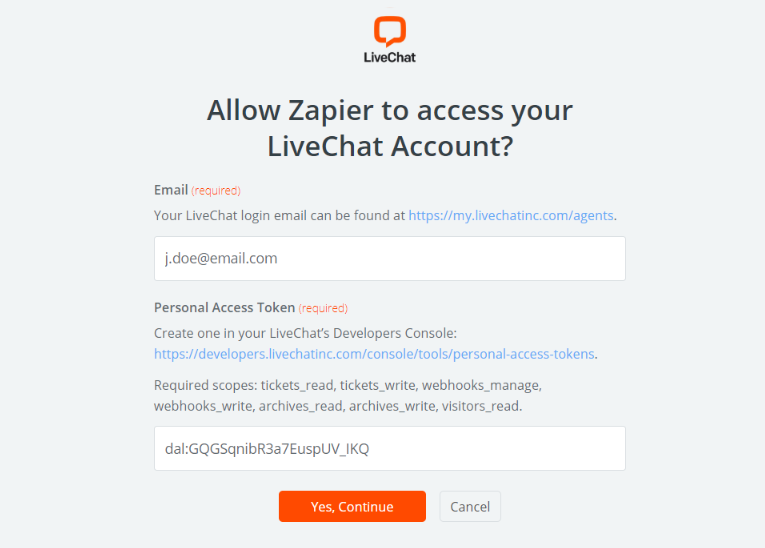
- On the next section, click on Save + Continue button.

- Now it is time to test your LiveChat - Zapier integration. To do that, click on Fetch + Continue.

- If the test will be successful, all that is left for you is to click on the Continue button.
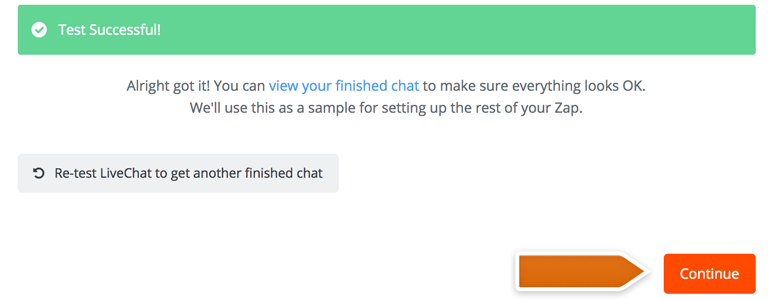
Done! In the next step, we will continue with the Zap configuration.
Configure your Zap!
Now it is time to configure the Action that Zapier will make when you finish a chat with your customer.
- On the Choose an Action App section, type Mailigen into the search field and choose the app from the list.

- Next, choose Add Contact as the Zap’s action and click on Save + Continue to proceed.

- Now it is time to add your Mailigen account to Zapier. To do that, click on Connect a New Account button.

- A new window will pop-up. There, provide your Mailigen’s API key and click on Yes, continue button.

- Click on Save + Continue to proceed.

- On the next section, set up your Mailigen Contact. In the Contact List field, choose a list to which new contacts will be saved.

- Next, map New Contact Email with Visitor email from LiveChat:

- Now, decide if you want to enable the Double opt-in option.

- Now, choose if you want to send a Welcome Email when your customers will be added to the list:

- You can also set up option fields, like First and Last name. After setting them up, click on Continue to proceed.

On the next section, you will see a summary of a contact that will be created in your Mailigen account. It is also time to test if LiveChat is successfully integrated with Mailigen.
To proceed, click on Create & Continue.

- If everything is fine, you will receive a confirmation that the test was successful. To finalize the configuration, click on Finish button.
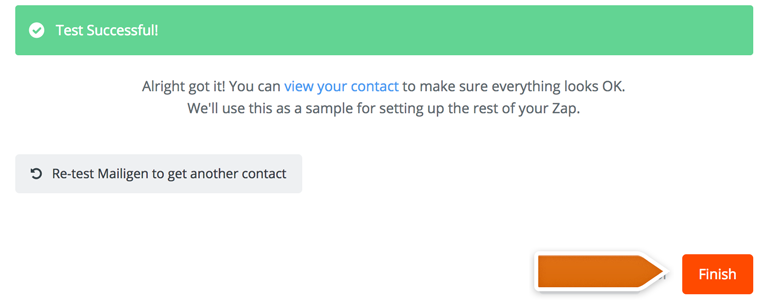
Done! Now your LiveChat is integrated with Mailigen. All that is left to do is to turn on your new Zap.
Launch your Zap!
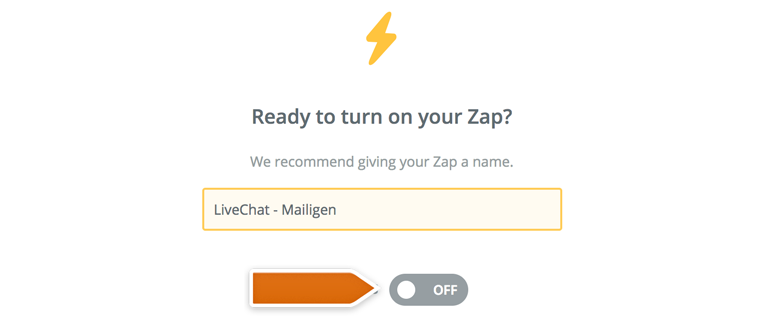
To launch your Zap, click on the Grey Switch. That will start passing the information from LiveChat to ProjectManager. Also, don’t forget to Name your Zap so that you will be able to find it on your Zapier Dashboard more easily!
Done! Now, your Mailigen integration is ready and each time your chat will finish, the new file will be created in your ProjectManager account.

